| 1/250 titanic model part 1 |
|---|
| Posted on Sat 19 Feb 2005 (91413 reads) |
|
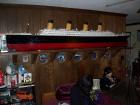
I started contruction of this 1/250 scale model of titanic on the 29th december 2004,it is a amati model,using plywood,pine,brass and whitemetal parts with paper wall coverings. This is the first article in this series, In about 1 month the licensor will have the second article with photos published here. KEEL. 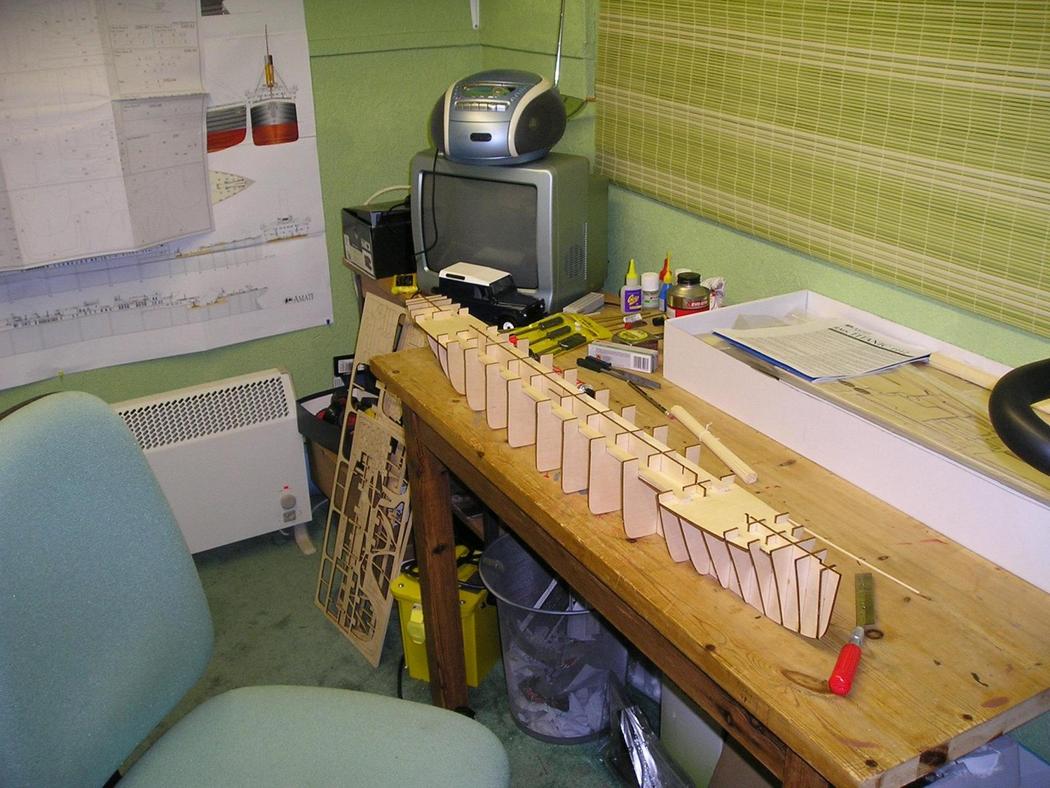 I assembled the keel on a flat board and glued all the frames 1-22 in one go then added both decks at the bow and stern and added the strengthing bars the same day to ensure it stays straight. i use a contact glue called evostik impact ,i use the quick use option apply to one side and push together and hold it for a few minutes wilst it grabs.another tip is to number all the parts as you remove them from the "trees"to find the right bits there is 10 plans sheets with diagrams of each tree and there parts use that to determain which parts you need. DECKS. 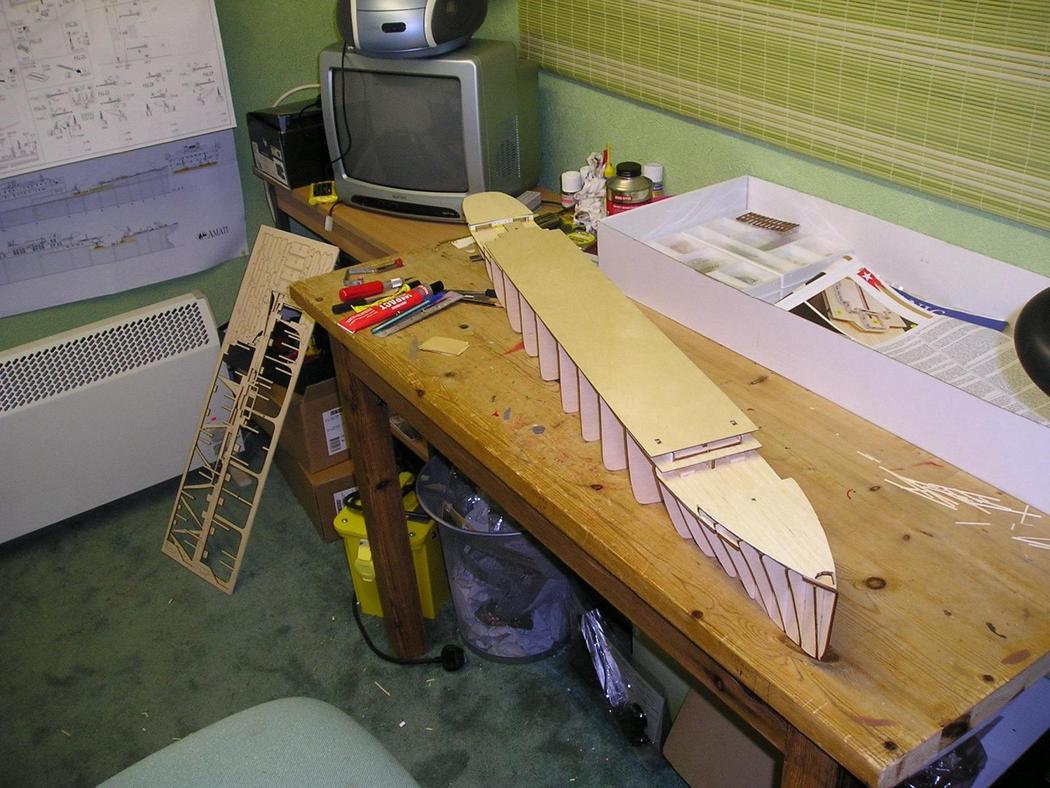 Just before i started plating the hull,i fitted both decks at the bow and stern,a good tip for planking these decks and all the others including the big long one which i believe is b deck,is to plank it all over laping the edges of the sections then cut it to size and glue it in place. FIRST PLANKING. 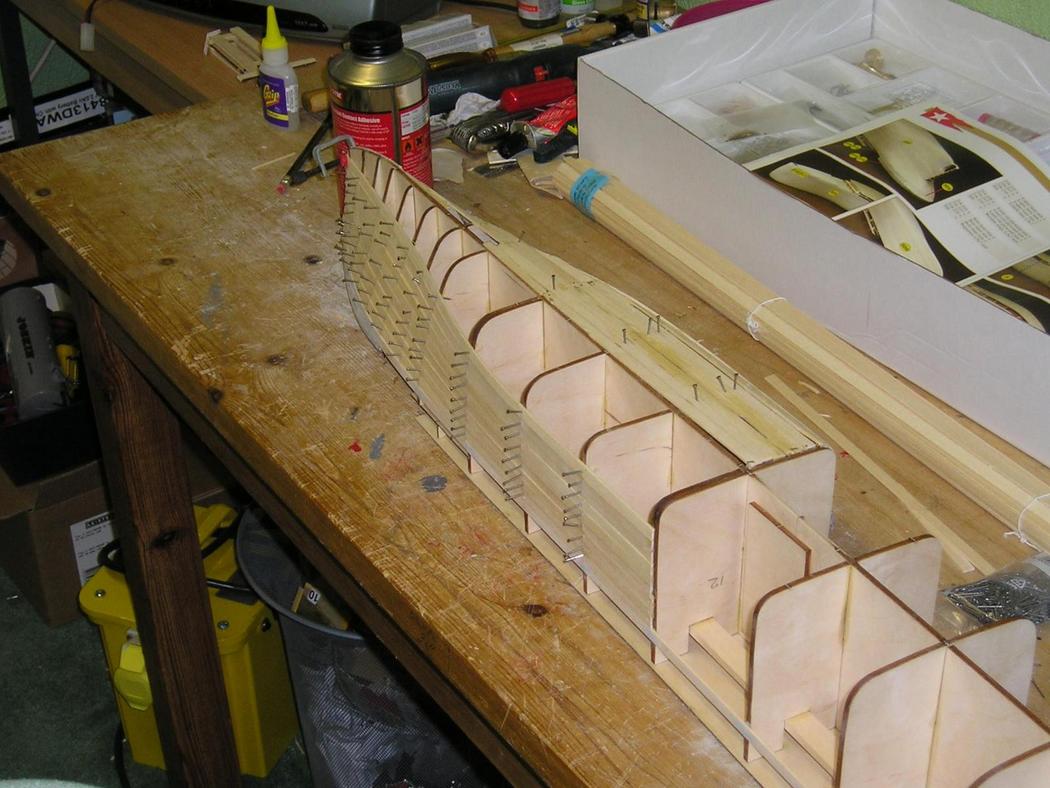 Well this job starts easy but all good things come to an end as they say!,i started planking at the top from frame 12 to the bow do equal amounts either side to prevent warping i used impact again and i pinned them down temporily while the glue had set overnight,then simply remove them and start again,i did 6 planks at a time,there was some very small brass pins supplied in this kit,but they was a real pain to use here as the kept bending and dont hold very well,hence i kept them til later for a more usefull job. then after completing the bow i started on the harder part the stern,again start at frame 12 and the from the top work up to the stern,ive found the best way to lay planks from straight to a curve to put glue on all frames and pin down as you go,it takes some twisting!and lay them as they want to go,theres no point in forcing them too much,you can allways use off cuts and filler at this stage,i even used milliput putty on the stern curve. SECOND PLANKING. Now this stage is abit hard,you have to get the two 0.6mm sheets of ply and find the paper templates and glue them to the ply and cut them out with a knife,it did say in the instructions to use scissors,but in my experience thats best avoided as i snapped a few of these strips that i was trying to cut out,they have all the porthole markings on, then when you do cut them out pin them on temporily to the hull and draw around them and then when you remove the guidence strips you can glue them on,i used rocket super glue and used a few of them brass pins to hold tight curves down,then its just a case of drilling the portholes out and carefully removing the paper. then just fill the nail holes and tidy the joins and rough bits with some fine filler and sandpaper. Author:Tractorowner |
| Index :: Print :: E-mail |
The comments are owned by the poster. We aren't responsible for their content.


